Thursday, August 30, 2012

Vacation House Birthday Cake


Our family had a grand finale to the summer with a trip to a beautiful lake house, for a week of fishing and relaxing, the latter involving playing lots of board games, reading, and just hanging out together. We took along all kinds of groceries for days and days of meals together, and the gardeners came with bundles of greens, zucchini, and tomatoes to add to the good eating. We all knew we wouldn't have to bring much for protein sources, since there would surely be plenty of fish--and we weren't disappointed. This picture gives you a sample of what was on the menu:


My assignment had been to bring a pretty basic birthday cake for the almost 8 year old. He would be celebrating a week early with his out of state family, before the "real" party after he got home.  I baked the cake before leaving, with the frosting to be added later.  Powdered sugar,  cream cheese, etc., were all packed, along with a box of birthday candles. To accommodate the expected large group, I doubled the recipe below and baked the cake in two 9 X 13 pans. (Doing this left enough batter for about 8 cupcakes.)

The larger size made flipping the top layer on to the filling covered bottom layer much more difficult than with two round layers, and the cake was not as "pretty" as I might have liked. After its four and a half car trip, it was even a little more dismal looking, despite the nested pans and lots of effort at keeping it unscathed.  Still--frosting covers a lot of defects, and there were also some toasted and sugared walnuts to add a decorative border. The frosted cake was better but there was something missing even when all the bumps and jiggles had been covered over and smoothed.

Color.

Don't birthday cakes usually have SOME kind of contrasting color, even if there is no fancy shape? A search through the rental house's cabinets uncovered nothing that would work as food coloring, and it hardly seemed reasonable to make a half hour trip into town just for that little item.

We, however, are nothing if not creative. A bowl of beautiful black grapes sat on the island, and inspiration struck.


I quickly peeled some--with the centers gratefully eaten by nearby bystanders--and chopped the deep purple skins into tiny pieces. Stirred into a small amount of the frosting, we soon had an acceptable purple color, enough to add a large X (for Xavier, the honoree) across the top.


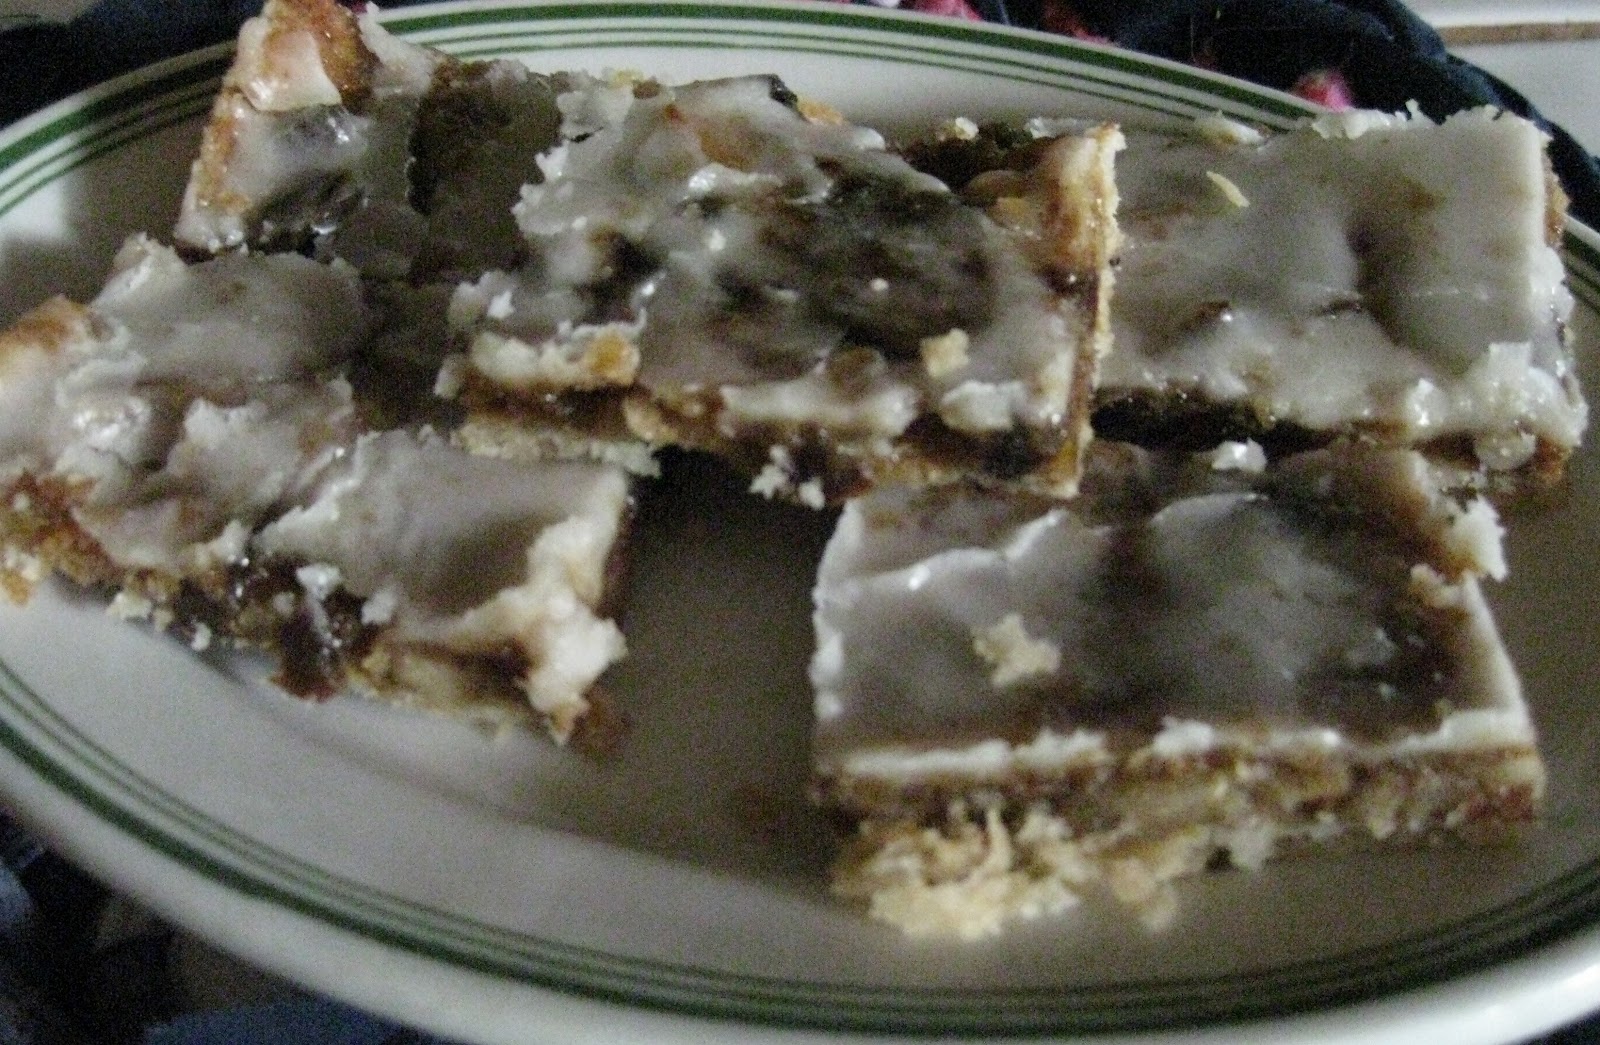
I plan to make this again soon, with a little less transportation trauma and a lot more gracefulness, but until then, this picture will have to suffice. Our lake chalet cake would never win a cake decorating contest, but it was tasty and disappeared very quickly. And the purple frosting experiment was fun; we might even try some other "natural" colors for future efforts.

The nice thing about this cake is that it keeps well in the refrigerator for a few days, with the fruit filling gradually permeating the layers without having them fall apart. It's a good recipe to keep in mind as we enter the fall season and more abundant supplies of apples and pumpkin.

Pumpkin Birthday Cake with Honey-Apple-Walnut Filling

Cake:

1/2 c butter
1 1/2 c sugar
2 eggs
1 c cooked or canned pumpkin (half a 15 oz can of pumpkin)
1 t vanilla
2 1/4 c flour
1/2 t baking soda
2 t baking powder
3/4 t nutmeg
1 t ginger
2 t cinnamon
3/4 c buttermilk or sour milk (see NOTE)

1. Beat butter until light and creamy.  Beat in the eggs and then the pumpkin and vanilla.
2. Sift together all the dry ingredients and add along with the buttermilk. (NOTE: If you don't have buttermilk, put about a teaspoon of lemon juice or vinegar in the bottom of a measuring cup and add milk to make 3/4 cup.) Beat for three minutes until smooth and well blended.
3. Turn into two oiled and floured 9 inch cake pans. Bake at 350 degrees for 20 to 25 minutes, until done.
4.  Ten minutes after removing the cakes from the oven, turn one layer on to a cake plate, top-side down. Spread Honey-Apple-Walnut filling over the cake and then top with the other layer, top-side up.
5. When cake is completely cool, frost with Cream Cheese Frosting. Press more toasted walnuts into the sides of the cake if desired.

Honey-Apple-Walnut Filling

2 T butter
1 c chopped coarsely chopped walnuts
2 to 3 apples, enough to make 2 cups of tightly packed, finely chopped apple (core but do not peel)
1/4 to 1/3 c honey, depending on tartness of the apples used
1 t cinnamon, or to taste

NOTE:  Prepare the filling while the cake is baking so that it will still be quite warm when the cake is removed from the oven.

1. Melt butter in a small pan over low to medium heat. Add walnuts and stir, cooking just until the walnuts are fragrant and becoming slightly golden. Remove from heat and set aside about half the nuts. If desired, sprinkle the nuts with a little cinnamon.
2.  Meanwhile, combine the remaining ingredients in a microwave-safe bowl, cover, and cook about 3 minutes or until the apples are very tender. Stir in the half cup of nuts with the butter in the pan.
3.  Spread the still warm filling evenly over the cake as noted above. Use the reserved nuts to press into the sides of the cake layers. (OR, as in my doubled cake, around the edges of the cake.)

Cream Cheese Frosting

1 T butter, softened
2 T cream cheese, softened
1/2 t vanilla
1/2 t cinnamon (optional)
2 to 2 1/2 c powdered sugar
1 to 3 T milk

1. Beat butter and cream cheese together.
2. Add about a cup of the powdered sugar, stir, and then add the vanilla and cinnamon.
3. Add a tablespoon or so of milk, beat, and then add more powdered sugar. Add just enough milk to reach desired consistency.
4. Spread the frosting over the top and sides of the cake. Press the reserved nuts around the edges of the top or around the sides of the layers.

(If making "grape skin frosting," reserve one or two tablespoons of the frosting. Chop black grape skins very, very fine and add to the frosting, using enough to reach the desired color. A bit more powdered sugar may be needed to make up for the liquid in the grape skins.)

Today's baking hint:

One secret to making cakes with wonderful texture is to beat the butter and sugar well--I once had a teacher who said this step is not complete until you can no longer feel any grains of sugar in the mixture. That may be a little extreme, but blending these, and then beating in the eggs until the mixture is quite light colored, does provide the kind of old-fashioned tenderness that will make people ask for your recipe. To accomplish this, a stand mixer is really the best thing to use, if you have one available.
**************************

Now, one more picture of the youngest fishermen and just two of the literally dozens of fish our crew was able to catch during the week. 


Wednesday, August 15, 2012

Non-creamy Cole Slaw


Over the weekend I mentioned my latest trip to the local farmers' market, including reference to a 5 pound half cabbage. Well, that was an estimate; when I pulled out the scale to get the real weight, that half weighed in at a whopping 6 pounds, 14 ounces--really glad I didn't buy the whole head!

 With this much cabbage, I will have plenty of cole slaw and stir fry base for a few weeks. Cabbage is a wonderful vegetable for storing, with a refrigerated shelf life that can almost extend into months. For now, however, I have plans that will use this pretty quickly, starting with a vinaigrette style cole slaw that can be made in large quantities for a week of cook-outs, hamburger lunches, fish fries, etc.

The original recipe (with a lot more sugar!) came from a Midwestern church cookbook my mother had received from a neighbor many years ago. I spent a few weeks with Mom as she recovered from foot surgery and much of the time was spent going through her collection and copying likelyy sounding recipes. Many of those weathered cards are still a core of my own collection 40 years later.

Overnight Cole Slaw

1 large head cabbage (I have found that this amount of dressing works for 8 to 10 cups of shredded or grated cabbage)
1 Bermuda or other sweet onion
1 large green bell pepper
2/3 c sugar
Dressing:
1 c cider or wine vinegar
2 T sugar
1 t celery or dill seed (opt)
2/3 c canola oil
1 T salt
1 t dry mustard
1 to 2 sprigs of fresh dill, chopped (opt)

1.  Shred or grate cabbage and onion, either with a knife or using a food processor. Chop the pepper into small cubes.
2.  Put the vegetables in a bowl and cover with the 2/3 cup sugar. Set aside while making the dressing.
3.  Combine all dressing ingredients (except fresh dill if used) in a small saucepan. Stir well and bring to a boil. While still very hot, pour over the cabbage mixture. Stir well. Mix in the fresh dill if being used.
4.  Cover and refrigerate for several hours or over night.

This recipe is easily cut in half.

NOTES:
Though red bell peppers can provide a lovely color contrast,  they may "bleed" into the dressing, leaving the salad quite unattractive. If you want to use red peppers here,  plan to stir them in right before serving.

And, yes, red cabbage definitely will "bleed" and change the color of the entire salad, so skip this recipe for red cabbage--unless you use only red cabbage. I've never tried that so can't tell you what the results would be for an all red slaw.

On a frugal note:  No matter how much cabbage you use in making this, there will invariably be a lot of dressing left in the bottom of the bowl. This can actually be a good thing, as this flavored "vinaigrette" can become a light dressing for greens from the garden, for cucumbers, etc.


Tuesday, August 14, 2012

Buttery Apricot Coconut Bars


Sometimes you just need a rich little dessert to top off a summer meal full of salad and veggies or grilled entrees. This is a quick and easy bar cookie, especially if you have some pre-soaked dried apricots. I had an extra pound that I cooked up after last Christmas's baking and then froze. Though it was really a last minute thing that I did to clear out the cupboard (and to keep the non-sulfured fruits from darkening any further), but it's been nice to be able to just pull out a cup of these little nuggets for these bars or for an apricot-zucchini quick bread.


Apricot Coconut Bars with Toasted Walnuts

Crust
1/3 c butter
1/3 c powdered sugar
1 c flour

Filling
1/2 c coconut
1/2 c soaked and chopped dried apricots
1/2 c coarsely chopped walnuts
2 t butter OR 1 t butter, 1 t canola oil
3 eggs
3 T flour
1/3 c brown sugar
1/2 t cinnamon

Powdered sugar icing—about 1 cup, flavored with a bit of almond flavoring

1.  Crust
Soften the butter in 9 X 12 pan and mix in the powdered sugar and 1 c flour. Pat evenly over the bottom of the pan.

2.  Filling
In a small saucepan over medium heat, melt the butter and stir in the walnuts. Continue stirring while toasting the walnuts for about 5 minutes, until they are fragrant and starting to darken just slightly—do NOT overcook!
Remove from heat and stir in the coconut and apricots. Allow to cool slightly and then add remaining filling ingredients.
Spread filling over crust and bake at 350 degrees about 20 minutes, until just golden and set.

3.  Remove from oven and drizzle with icing while still warm. Allow to cool before cutting in pieces. Makes about 32.


.

Rehydrated Apricots

1 pound dried apricots
water

The apricots may be kept whole or cut into bite-sized chunks, whichever you prefer. 
Place the apricots in a glass container and add just enough water to barely cover. Place in microwave, lightly covered, and heat on high about 3 minutes, until the liquid begins to bubble just a bit. Remove from the microwave, press the fruit down so it is well-covered, and allow to stand until cool. If the fruit is very juicy, you may want to drain a bit of the liquid (which makes a wonderful addition to orange juice or as liquid in any bread you may be making).  May be used immediately or put in recipe-sized bags and frozen.


Saturday, August 11, 2012

Farmers' Market Day and a Quick Salad


It was a beautiful day for a trip to the Farmers' Market, with an opportunity to test the bag I had just finished for carrying things like produce or books or whatever. Good thing that I made it strong, as I ended up with a 5 pound half cabbage, two large butternut squashes along with bundles of amaranth greens and the most fragrant Thai basil in the world. (I think my car will smell like that for a week--at least I hope so!) Since I was still in the mood for fresh produce, I stopped by my favorite orchard and picked up a bag of Zestar apples, some sweet corn and dill along with ridiculously inexpensive zucchini. (A friend of mine tells me that you know you don't have friends in MN in the summer if you have to buy zucchini in the store. However, buying it at the orchard for 50 cents for a four pounder is almost like getting free food.)

So now my afternoon is planned for me. First, get the greens into the refrigerator, except for a handful that will be the base of a great salad. The squash will keep for awhile in the garage "root cellar" and the corn will be dinner, with the extra cut off the cob and frozen for winter. An "overnight coleslaw" for tomorrow's potluck will take care of a large part of the cabbage, and the dill will be ready for another batch of refrigerator pickles. Apples are ready to combine with the first of the second crop of raspberries for the dessert dish for the potluck. How wonderful to have these fragrant dishes to look forward to.

The amaranth was one of those purchases I love to make when I get a chance to buy from the produce producers themselves. Laying there at the end of the day, the unlabeled bunches were still green and enticing. However, I do not like bitter greens at all, so I had to ask what they were and how to prepare them. Though the grandmotherly booth owner spoke little English, a young woman working there told me the name and that the greens would remind me most of spinach. I asked to tear off a small piece of leaf to try and loved its sweet tender flavor. "Grandma" immediately took another piece, snapped off a large section and handed it to me, with clear gestures to try much more. The portion she handed me included both leaf and stem, the latter about as big around as a wide drinking straw, and almost as hollow. It was surprisingly sweet and tender, even that stem section.

I was hooked. The price was wonderfully low, so I said I'd take two of the huge clusters. "Here," the young girl said, "let me give you all three." (It was the end of the day for them, so I guess I was helping them as well.) Looking on line, I can see a lot of wonderful trials for this new to me green, and I'll be sharing more as I try them out.

(As for the nutrition in these greens? Wonderful stuff!--check out http://nutritiondata.self.com/facts/vegetables-and-vegetable-products/2304/2 if you want to see details on the wonders of amaranth greens.)

Today's salad was simple. After washing thoroughly,* I tore some leaves off the stems, patted them dry on a towel, and tossed them with fresh vegetables I had on hand. The dressing was a sweet vinaigrette left over from another salad earlier in the week. After taking the picture below, I did add in a handful of salted dry roasted peanuts for a little added crunch and protein, since this ended up being the entirety of my lunch...Well, there were those fresh apple slices with thin pieces of smoked provolone, but it was mostly a salad meal.

*Farmers' Market Warning: If you go on a day when there have been recent rains, any greens you buy should be pretty muddy--a good sign they really are local!


Amaranth Salad

amaranth leaves, washed and coarsely chopped (save the stems for later)--this will also work with spinach if amaranth is not available
garden tomatoes, coarsely chopped or cut in half if cherry or grape tomatoes are used
bell pepper, any color, cut in large dice
cucumber cut in julienned pieces
salted peanuts or sunflower seeds
other optional ingredients: finely shredded cabbage, red or sweet onion slivers, shredded carrots, black olives, cheese cubes--in effect, whatever you have in the refrigerator that sounds good to add to the mix!
Sweet Vinaigrette Dressing

Toss all vegetables together and add just enough dressing to moisten. Top with peanuts or sunflower seeds. Note that there are no measured amounts here. You will probably want 2 to 3 cups of greens per person for a main dish salad, with less if it will only be a side. The other ingredients should be added based on your preferences and what you have available. The best salads are really made like this!

 Sweet Vinaigrette Dressing 

Okay, this is my "secret" added flavor--today's dressing was "recycled." I had made this for a mixture of cabbage, onions, lettuce, garlic, basil, etc., and there was a lot left in the bottom of the salad bowl. Into the refrigerator it went, with all that added flavor from yesterday's vegetables. Poured over the greens today, there were hints of the garlic and other flavors without adding them into the mix today. This helped me get the full flavor of the amaranth--AND saved me some time as well.

The basic recipe I started with is below, but don't be afraid to do your own "recycling." The vinegar and oil will keep the mix well for several days--or more--in the refrigerator, adding more flavor enhancements with each new salad into which it is blended.
  • 1/2 cup sugar (may reduce this to 1/4 cup if you prefer)
  • 1/2 cup olive or canola oil
  • 3/4 cup cider or wine vinegar
  • 1/2 t salt, to taste (omit if using salted nuts or seeds or cheese in your salad)
  • 3/4 tsp freshly ground pepper
  • 1 to 2 cloves garlic, crushed
 Combine sugar, oil, salt, and vinegar in a small saucepan. Stir well and bring to a boil. Remove from heat and add remaining ingredients. If desired, fresh or dried herbs (basil, Italian seasoning mix, rosemary, etc.) may be added to the dressing or just tossed with the salad greens later.


Wednesday, August 8, 2012

Now That's a Pretty Pickle


Cucumbers for a quarter. Red onions for less than 50 cents a pound. Farmers' market produce at its best. Time for some quick and inexpensive pickles.

The vinegar in the brine will keep the red onions bright, though these should be eaten fresh, as a few days will start to see some color bleeding into the brine itself. Still, a fast side dish just right with summer sandwiches or hot dogs or brats. You just have to plan ahead a few hours (or overnight) to make sure the flavors blend well--though tasters have been known to snack on more than a few even before these have chilled!

Red Onion and Cucumber Pickles

1 large or several small cucumbers (about 3 cups sliced)
1 medium to large red onion, cut in thin rings

1 c sugar
1/2 c cider vinegar
1 to 2 T salt--if using regular salt, go on the low side; pickling or kosher salt will need a bit more
dill seed OR fresh dill--about 1 to 2 t seed, several sprigs of dill

1.  Combine the sugar, vinegar, salt and dill seed, if used, in a small saucepan. Stir well to dissolve the sugar and salt. (This will require a bit of stirring, as they do not dissolve as well in vinegar as in water.) Bring to a rolling boil and remove from heat.
2.  Meanwhile slice the cucumbers and onions. Place in a shallow dish, evenly distributing the two vegetables. Layer with fresh dill if this is being used.
3.  Pour the very hot vinegar solution over the vegetables. Press down to cover the onions and cucumbers as much as possible with the brine.
4.  Cover and refrigerate for several hours or overnight. If desired, stir after a few hours to be sure that all of the vegetables are well soaked in the brine.

HINT:  A little of the  leftover brine is good added to your favorite cole slaw recipe.

Thursday, August 2, 2012

Gardening this time, not cooking--Or, when NOT to trust the Internet


In the spirit of "frugal, fast, and fun," I tried out a new technique in my garden this year.  Last year I had read another gardener's account of making her own seed tape. It sounded easy but I wasn't planting any more seeds at that point and promptly forgot about it.

Enter sowing season 2012. The first seeds I planted were kohlrabi, lettuce, and spinach, and, as usual, I had a lot of trouble trying to distribute the tiny seeds evenly along the row. Since some of the seed was from last year, I wasn't sure of the germination and decided it was okay to just let the seeds go in as thickly as they came out of the packet.

Whether fortunate or unfortunate, those old seeds germinated very well, so I had to do a lot of thinning, one of the hardest parts of gardening for me. I have to pull out perfectly wonderful plants and toss them (or use the tiny leaves for an early nibble or even part of a salad) while trying not to dislodge or damage those plants that I am allowing to grow. As I carefully picked out some of the most prolific kohlrabi and lettuce,  I was reminded of the seed tape idea and went on an internet search for more info.

Well.  It may be a new technique for me, but it certainly has been done in many ways by a whole lot of people out there in the blogosphere, using all different materials....and having all different results, including several sites where it seemed no one had had any success with germination of their carefully prepared seed tape seeds.

As I read through these sources, it seemed as though a major problem, when there were massive failures, was that people were preparing these tapes a long time in advance and then storing them away for planting later. Some of the directions also involved pretty meticulous hand picking of the little seeds and lining them up on carefully placed dots of the "adhesive" of choice, making the work seem hardly worth the time.

Even more of a warning should have been the fact that I found no sites--not even one--where germination and final results were given. Lots of excitement about how kids could get involved in making the seed tapes, but none on how many plants actually came up.

I know my results are anecdotal, but they were dismal. I made the tapes and immediately transferred the seeds to the garden. At the same time, I planted a few rows with the same seeds but not on seed tapes. Results? Almost zero germination for the tape plantings and usual germination for the others.

I can't help but think this could be a very disappointing experiment for kids if their carefully prepared seed tapes don't result in happily sprouting seedlings. So my suggestion is to skip all these "cute" ideas for having kids making seed tapes. sorry.

(I am including the steps that I took in doing this, so that anyone interested in challenging my results has the facts they need!)


Seed Tape for the Garden

Cheap, single ply toilet paper (the kind that comes in single rolls, 1000 sheets each, works well)--try to avoid any added scent, lotion, softeners, whatever. You want plain old minimalist paper
Seeds
Flour and water paste

Toothpicks

1.  Tear off a strip of toilet paper about 2 to 3 feet long. (Longer than this is harder to handle, so I suggest you do the seeds in increments if you have longer rows.) Fold it lengthwise in quarters, so you have a strip about an inch or so wide.  Spread the strip out on a table or other flat surface. This will be called the "tape" from here on out.

2.  Make a paste of flour and water: put a tablespoon or so of flour in a shallow bowl and stir in a little water at a time, until the consistency is just a little thinner than school glue. (This mixture will thicken as it stands, so you can start out just a little bit on the thin side.)

3.  Using a small teaspoon, dribble a tiny stream of paste down the center of the paper. Your goal is to have a small sticky spot at each part of the tape without getting the paper so wet that it will tear or break.

4.  Pour a small amount of seeds into a small cup or bowl.

5.  Dip one end of a toothpick into the flour and water paste, just enough to moisten it. Then dip the toothpick into the seeds. One or a few of the seeds should stick to the toothpick so that you can then place them on the tape at intervals as needed for each kind of seed. You will probably not have to dip the toothpick in the paste every time, only when the seeds no longer stick.

6.  When you have placed seeds the full length of the tape, lift it carefully by the ends and carry it directly to your garden row, where you have already prepared a trench. Lay the tape in the trench and cover completely with the appropriate amount of dirt.

7.  Repeat with more sections of tape as needed to complete your planting.

I used this method with lettuce, kohlrabi, collards, cilantro, dill, and basil.